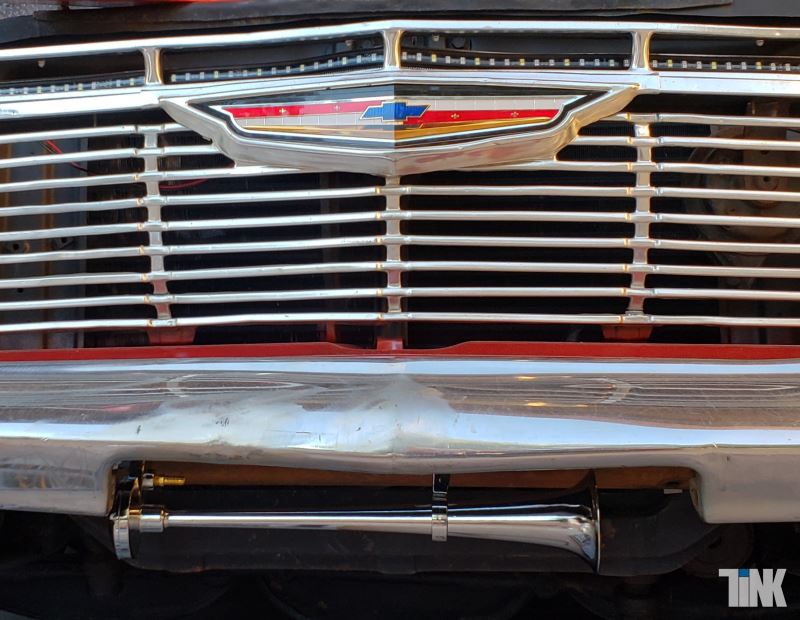
All the electricals for the motor were in place and it ran well, but nothing else electrical was hooked up, just a mass of spaghetti under the dash, some labelled, some not. It was a daunting prospect as this was something I'd never really had much experience in, other than installing the odd stereo unit in my youth, which usually resulted in sparks and bangs and blown fuses! Thanks to a dear friend, Mike, we began the rewiring and I learnt from him as we went, putting in relays and more to build a more up to date system.
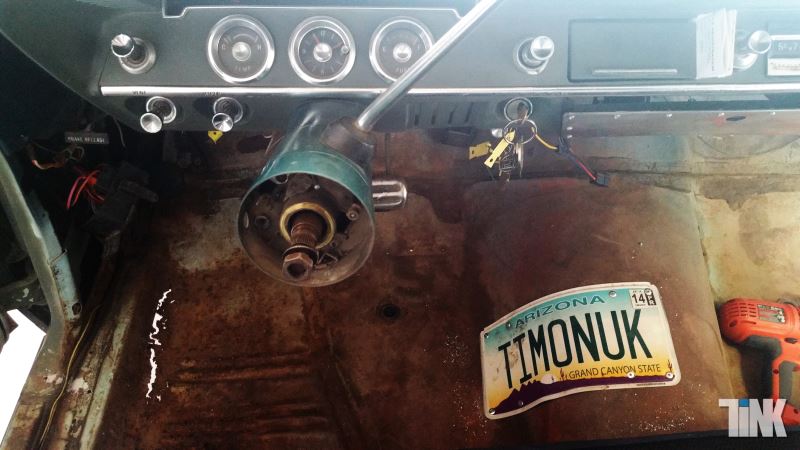
I didn't help the process, by finding lots of interesting lights and mods that we could include, so the process took several months. I even switched out the main switch panel, but by that time I was able to do this all by myself.
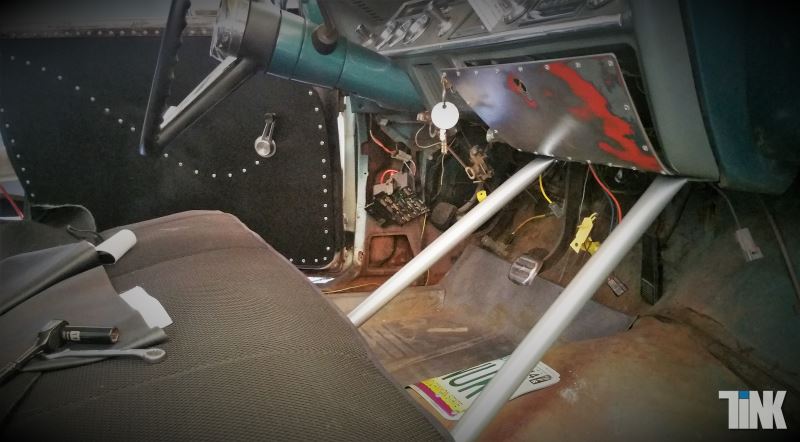
The initial idea for the switch panel was a center console type affair, with some LED switches and a USB output panel thrown in for good measure as well as the main ignition switch.
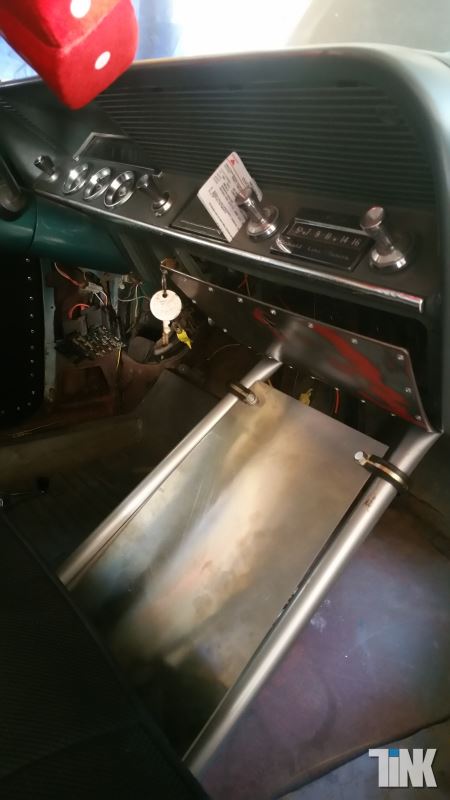
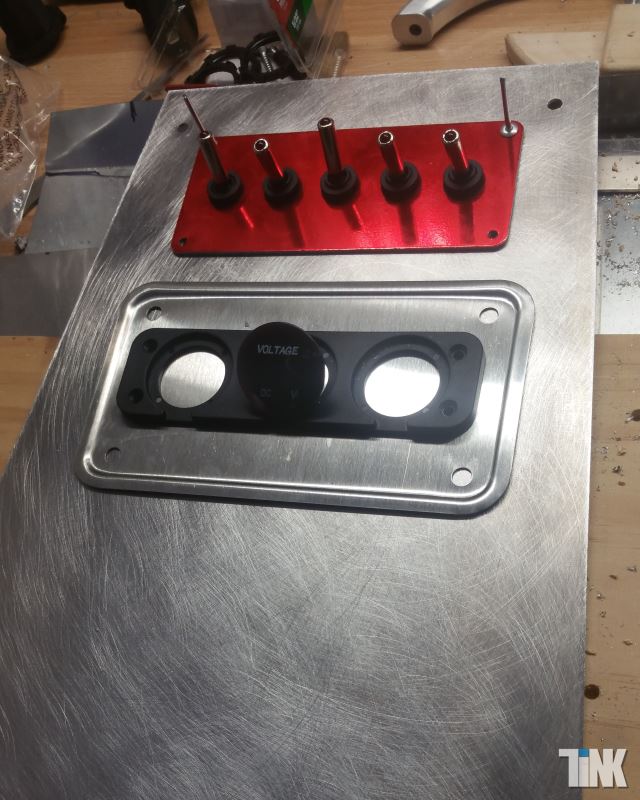
I swapped it out for a 'T' that I had lying around which was much more to my liking!
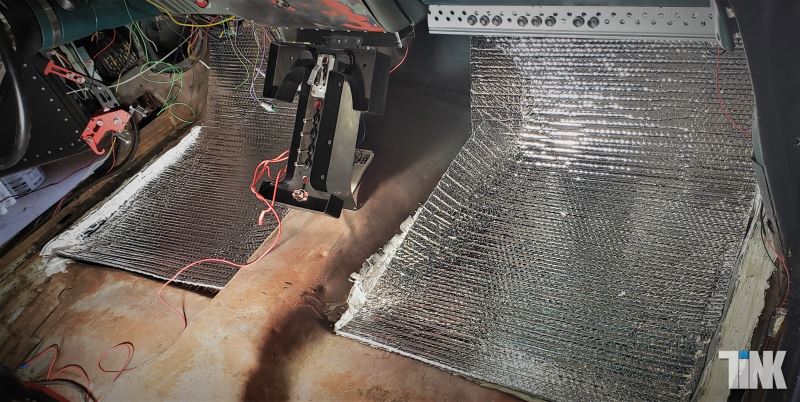
Lights were the first priority and we elected to retain the existing main lights with only some cosmetic adjustments. I stripped out the side lights as the lenses were badly fogged with age and installed an LED strip for the running lights. It was actually a rear light strip designed for a pickup, so had red/white lighting and initially we used that for the indicators, until I found something more fun!
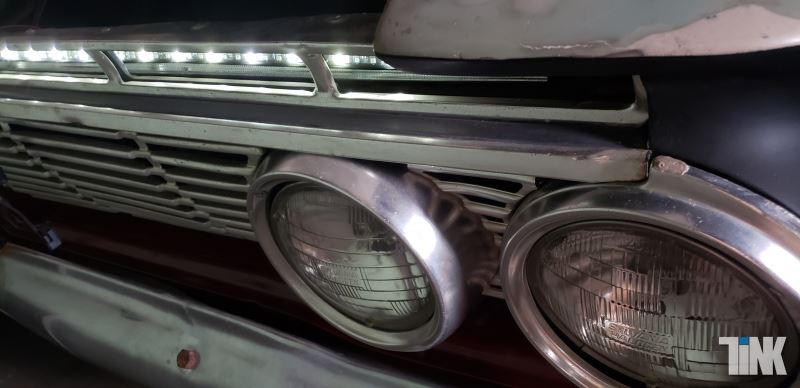
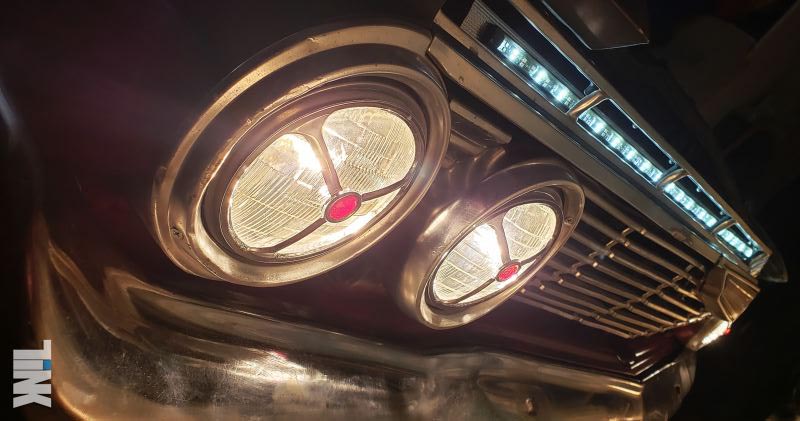
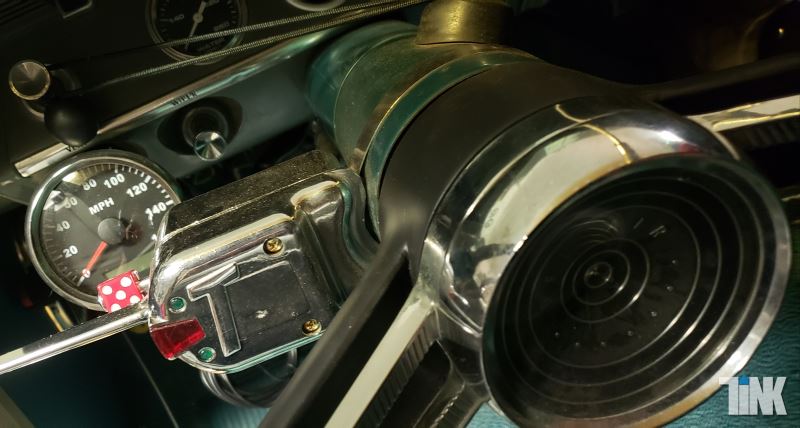
We switched out the indicators for an LED strip with sequential lights, which were pretty damn cool even if I say so myself and rigged it to a bolt on Hotrod type lever unit.
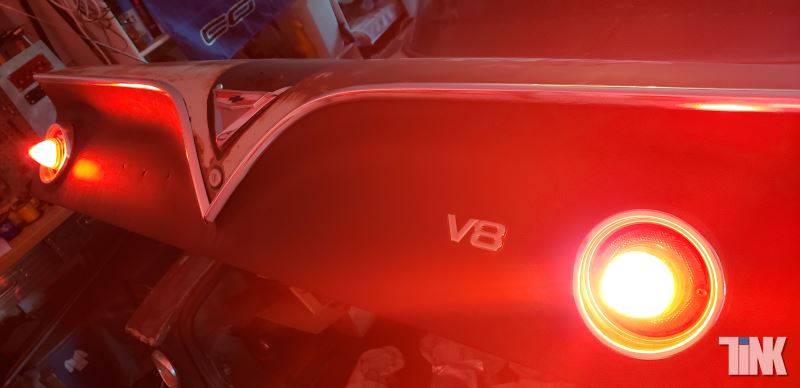
For the rear lights lights we used the standard lenses, brand new replacements readily available. We swapped out the bulbs for LED units and I managed to find some motorcycles riding lights which fitted the lens perfectly with the help of a little silicon sealant.
.jpg)
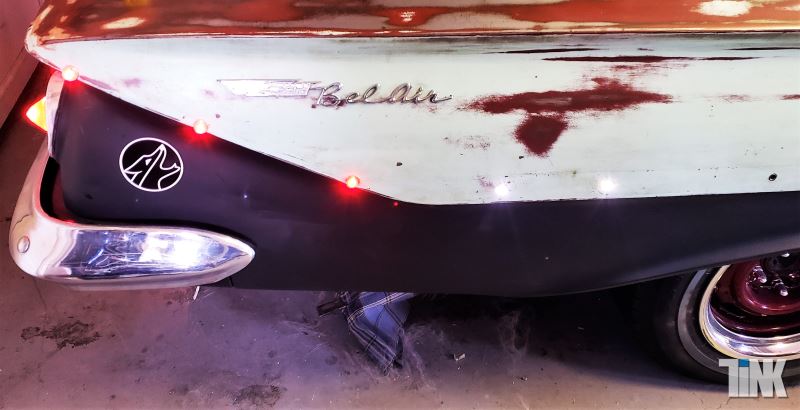
But of course we didn't stop there. The bodywork had some fairly large holes, designed to hold a track to which the chrome trim fitted, all of which was missing and unavailable for this four door model. I found some single LED lights to plug some of the holes, much to Mike's delight, having to wire them all in!
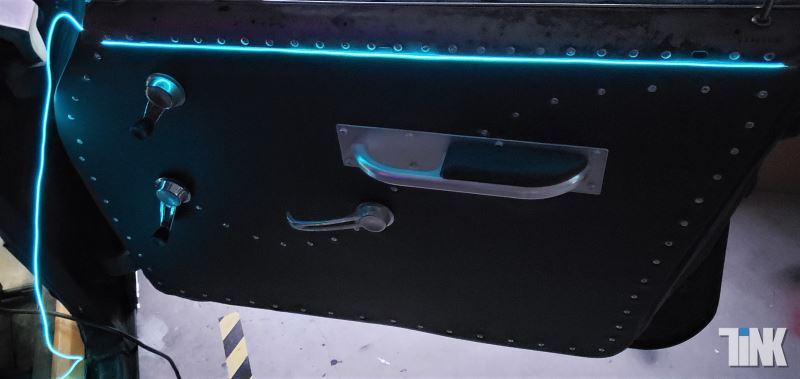
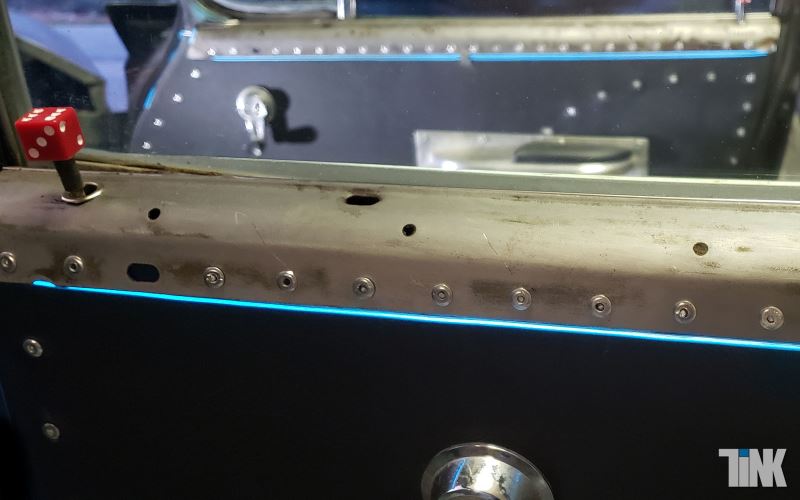
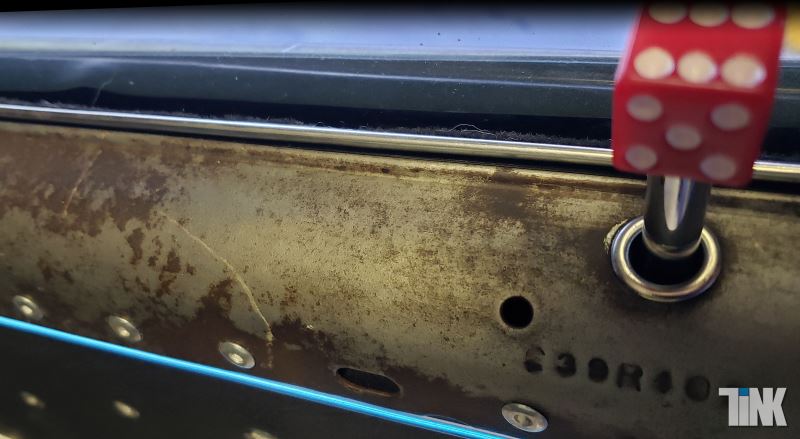
The interior was as much, if not more fun than the externals, where we could get really creative with modern LED lighting to get some really nice effects. Along the lower edge of the door panel shrouding I fitted some really nice LED strip lighting. Great value at $4 a piece. Inspired by my 2011 Camaro which was a little like sitting inside a juke box!
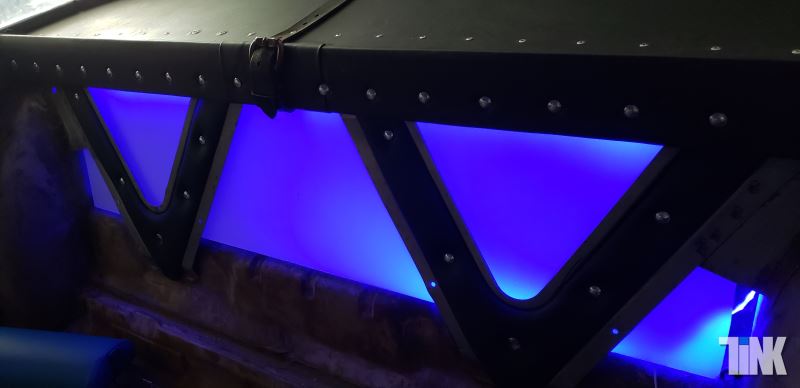
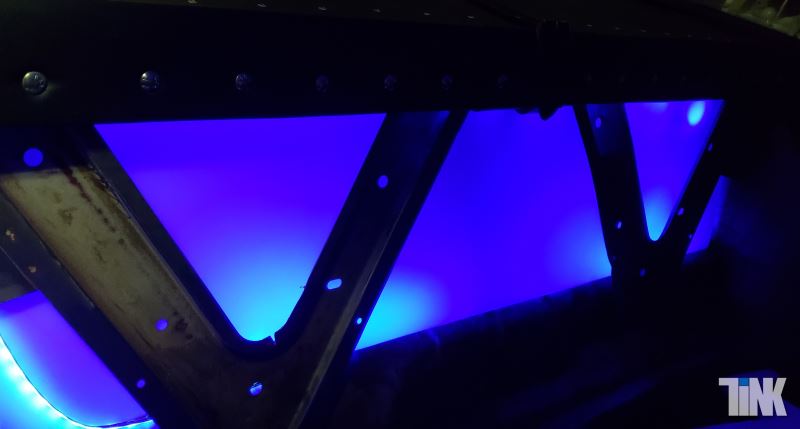
Then, where the back seat up right used to be, I had exposed the really cool V shaped frame and made some custom upholstery to pad them out leaving "air" through to the trunk. I found some semi opaque frosted translucent perspex which I cut to size and then fitted a string of blue LED designed for outdoor or marine use, which glows through the perspex panel.
Finally, we fitted an offensively loud air horn! Not that anything is final with this prject, so who knows what additions may come.
