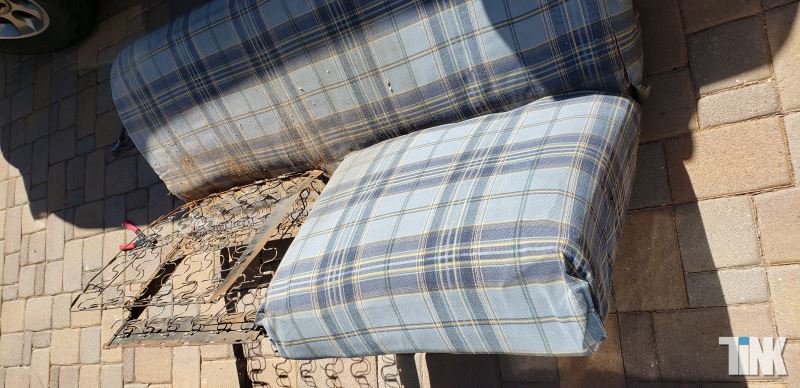
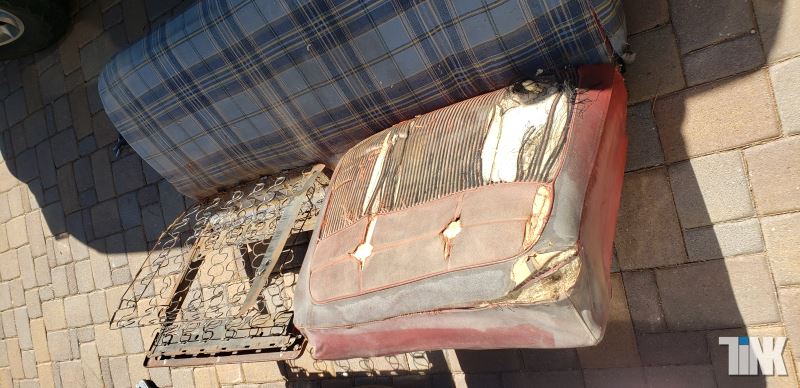
The interior was another major undertaking. The seats were in some horrible thick rough tartan material, on top of two other previous versions of upholstery as I found when I tore them apart. Door panels were rotten, carpets looked like cut offs from an office refurbishment job and everything was just generally pretty horrible.
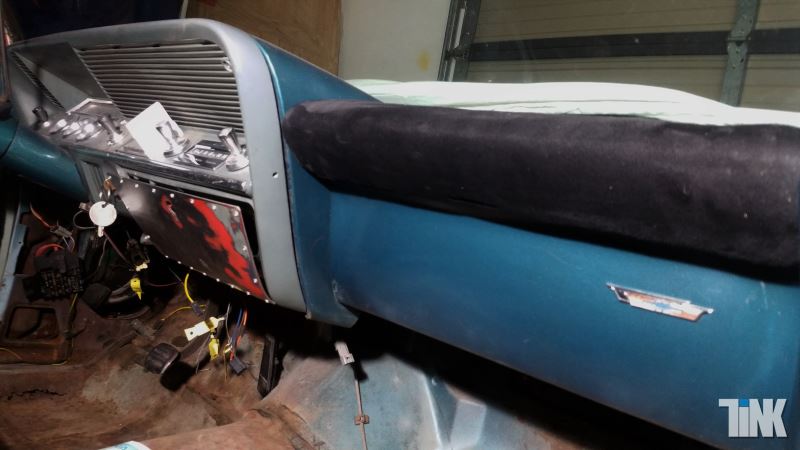
So I started, by way of practice, with the small cushioned panel on the passenger dashboard and covered it with some alcantara I had kicking around. It came out pretty good so I was encouraged that perhaps upholstery was not so difficult.
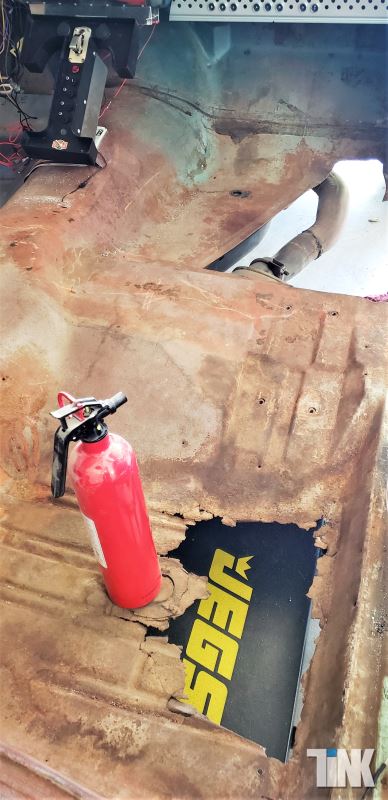
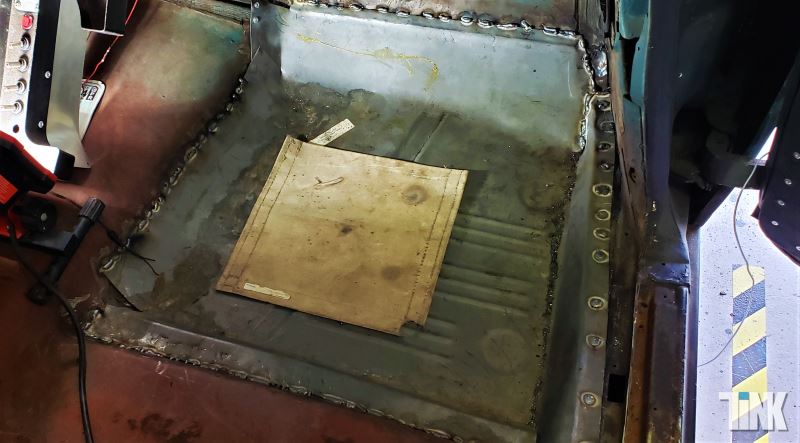
Having taken out the seats and ripped out the carpet I discovered why there had been a serious gas fumes issue on the odd ocassions I had driven the car. There was a gaping hole in the floor pan, cut in readines for a new panel and right there was the muffler, with no pipe to deliver the exhaust to a suitable exit point!
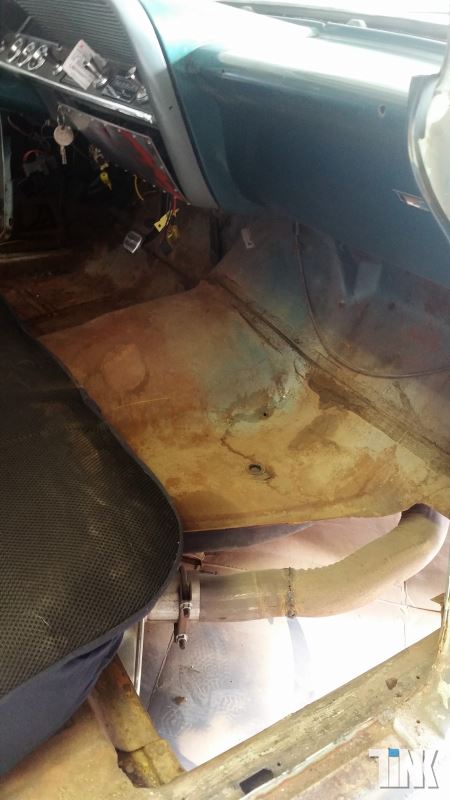
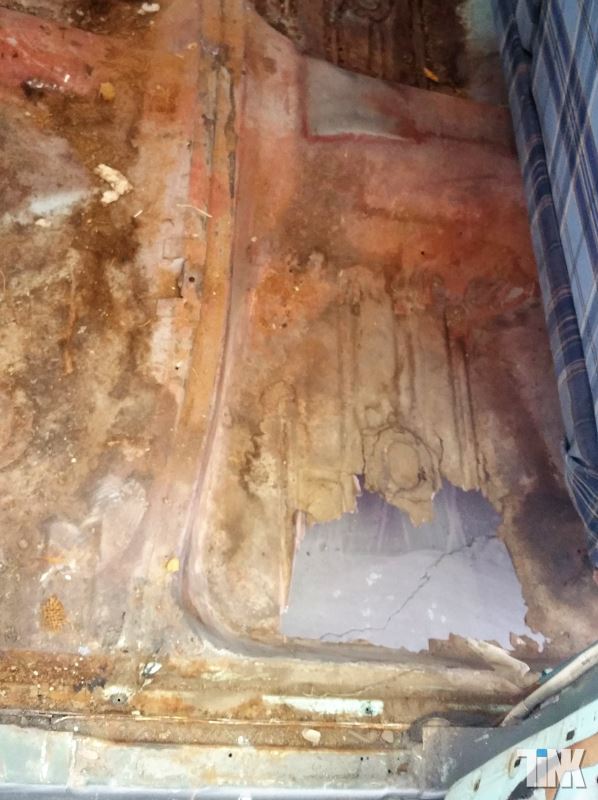
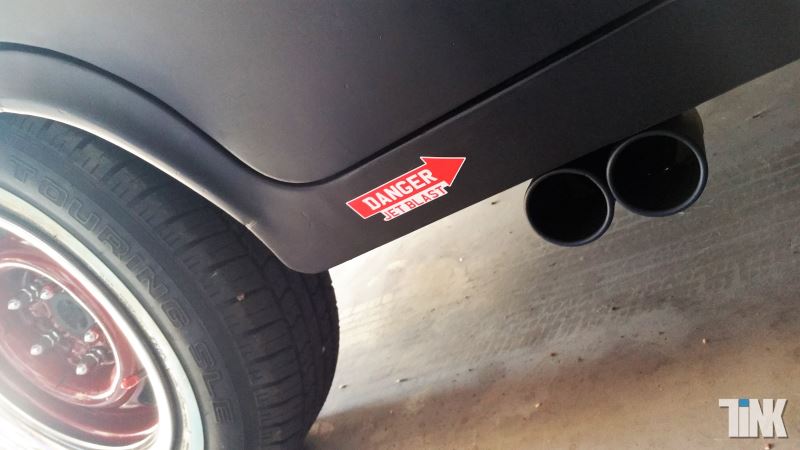
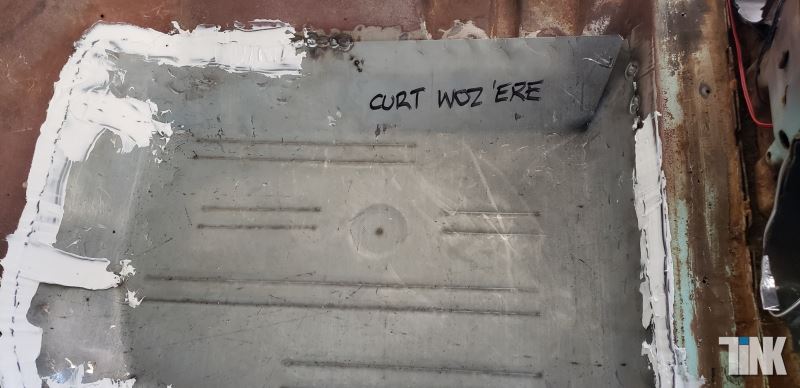
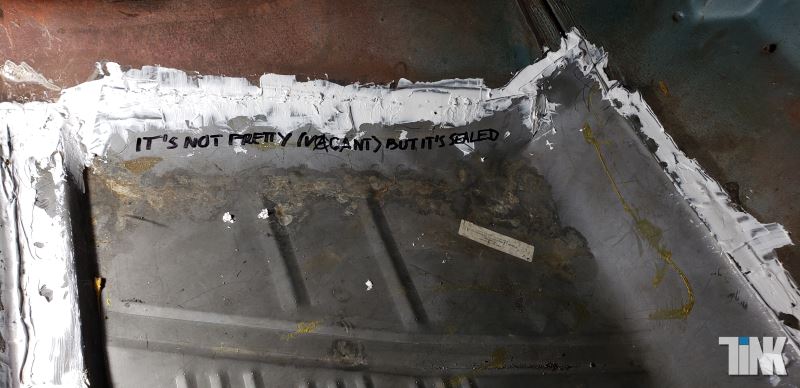
I quickly rectified the exhaust issue with some help from my godson Luca and some flexi-pipe and routed it out by the rear wheel. The floor pans would be tackled later, with the help of another friend and fellow race team member, Curt Griggs, an ex nuclear engineer on board a submarine.
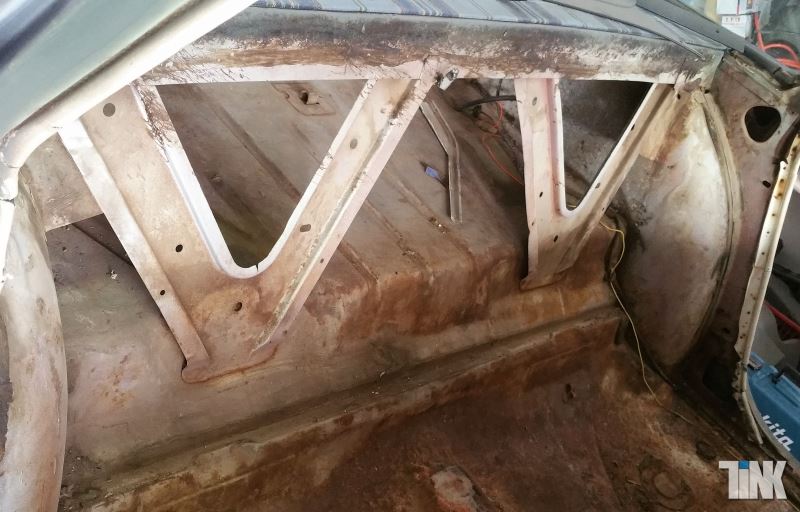
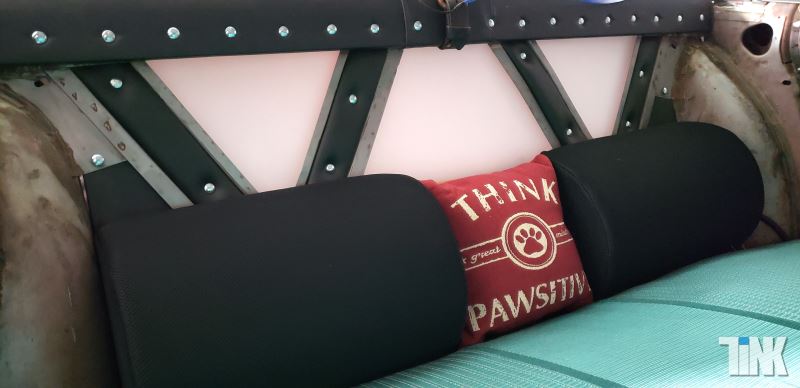
Back to the interior and more discovery having stripped it out. Behind the back seat were two V shaped supports which looked really cool and so I decided these would become the back rest for the seat.
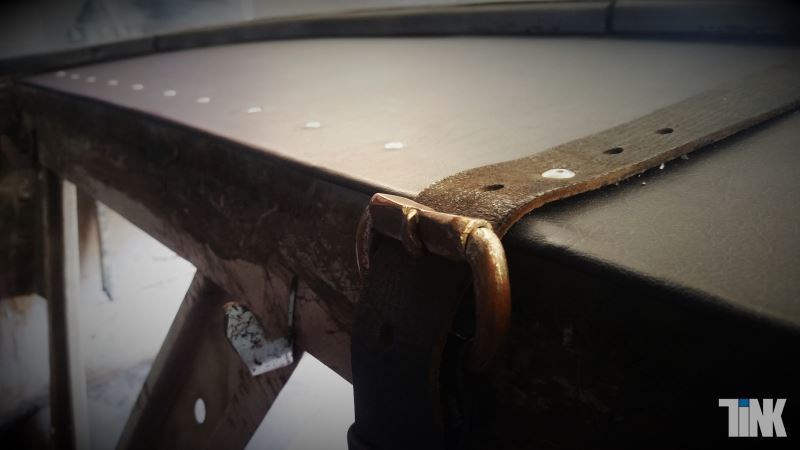
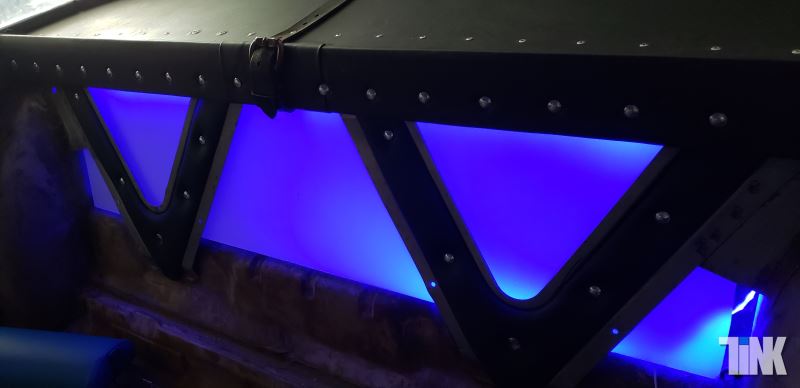
For my second attempt I turned to another samll panel, the rear shelf. Using the rotted carboard original I cut out a new panel from hard board and covered it with leather look vinyl and slotted it into place. For added "style" i again used rivets as a decorative element, finishing it off with an old leather belt which sadly no longer fitted my waist!
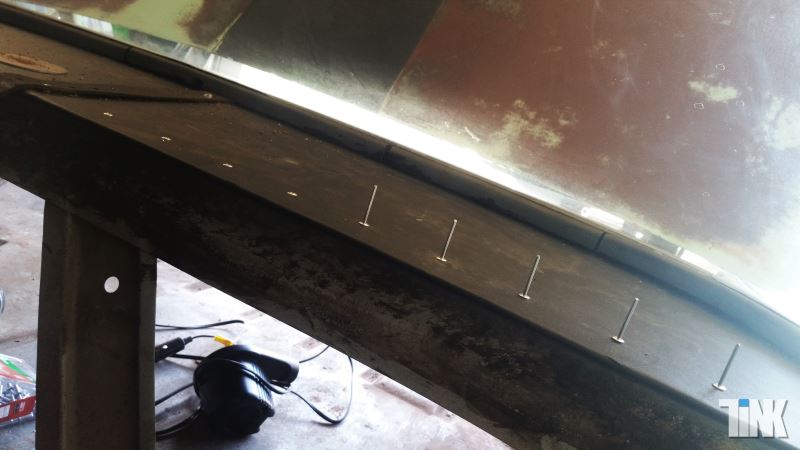
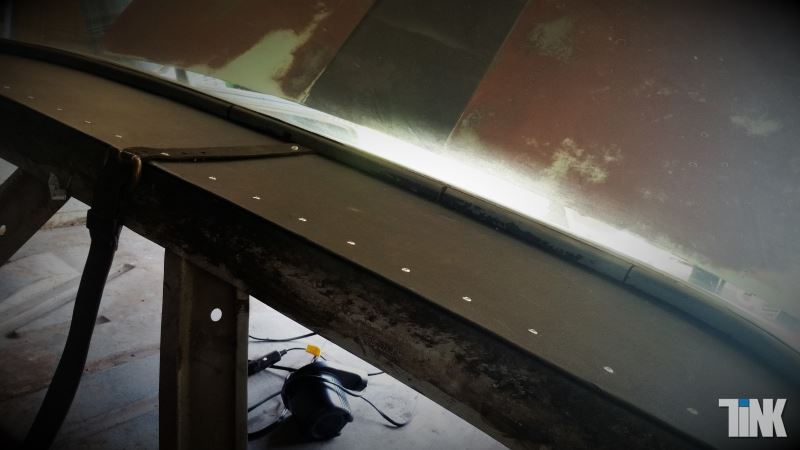
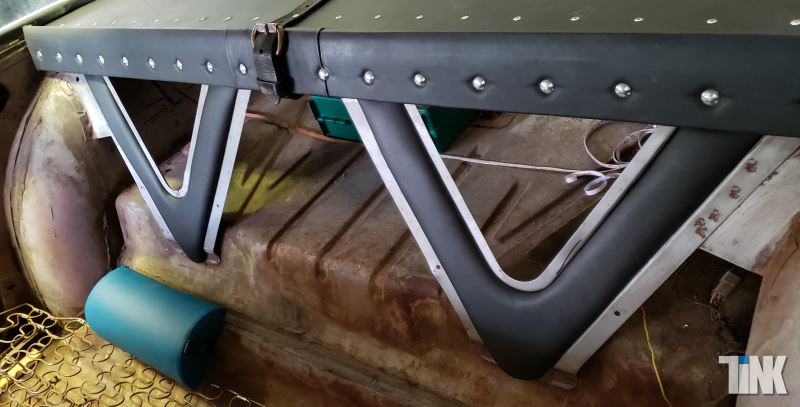
A slice of base board covered in the same vinyl and studded with coach bolts, that would later hold the perspex in place too, completed that project with the help of a professional upholsterer who made the inserts for the V shapes. The LED backlit perspex and a handful more coach bolts completed the look I was after.
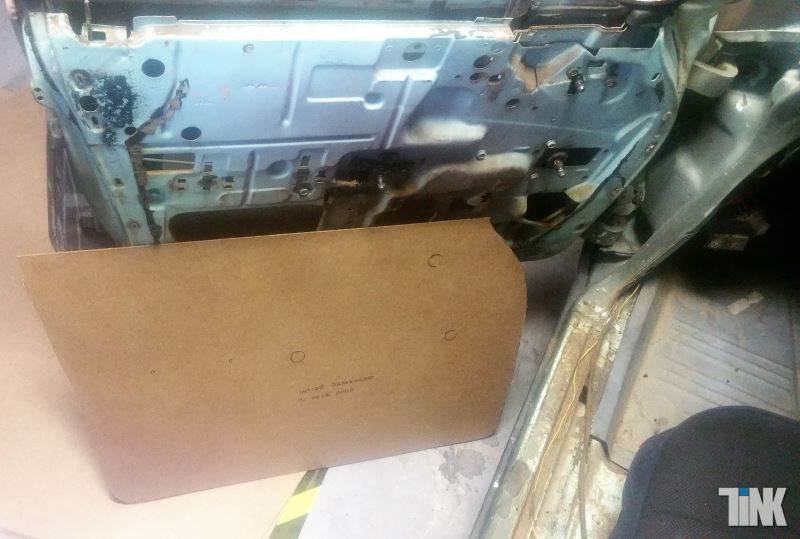
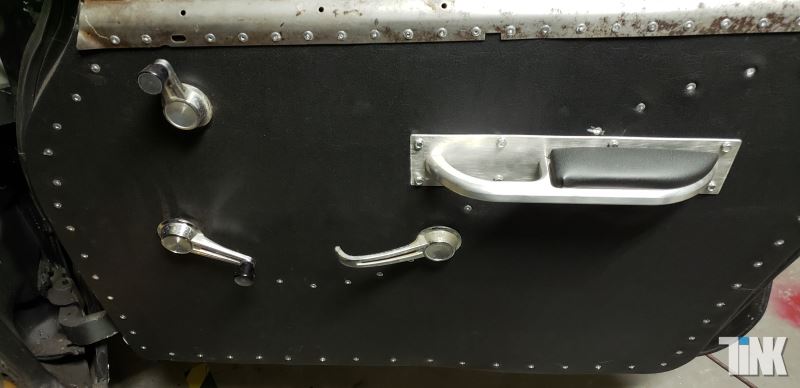
Next up were the door panels. With newly gained confidence I decided not to opt for simply buying replacement panels, not least of all because they were extremely expensive. So it was back to the hardboard, using what was left of the old panels as templates and a trusty jig saw which I was getting pretty handy with by now! I carried on with the rivet theme, drilling and riveting each one by hand. The top moulding2 that holds the panel in place, I simply sanded and matt coated.
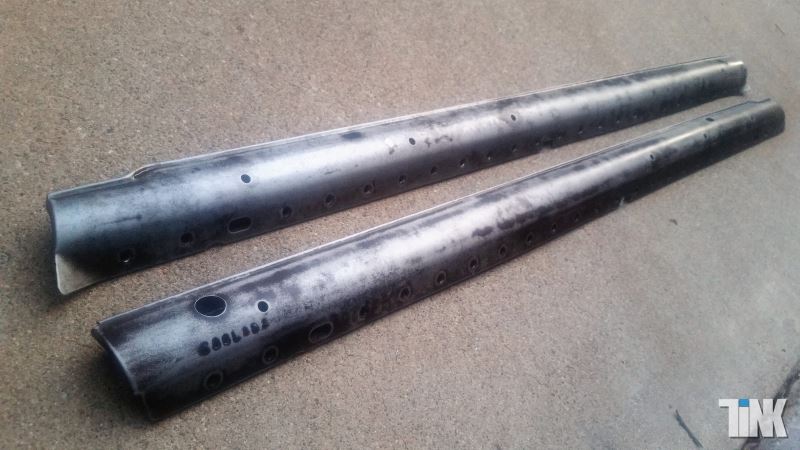
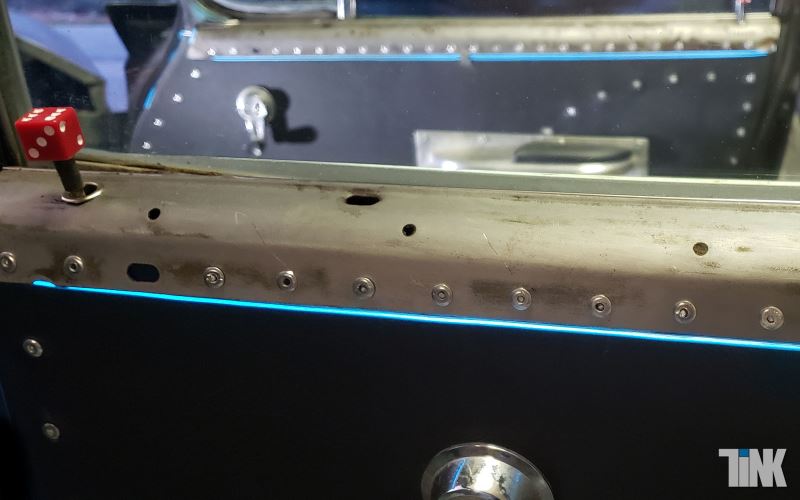
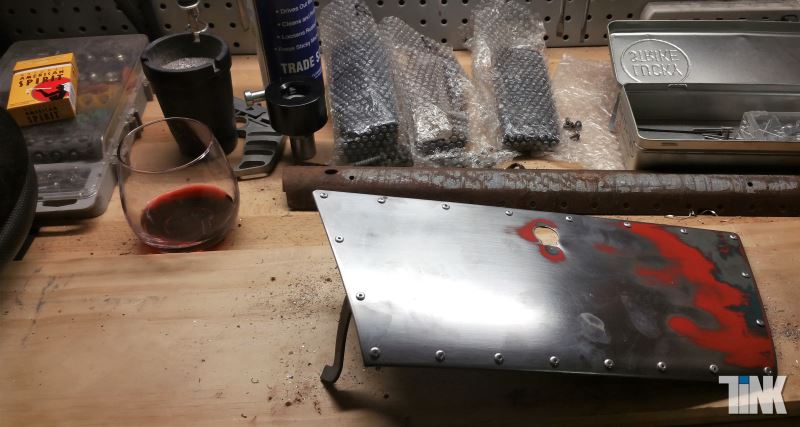
As I was working on all aspects at once and the electrics we simultaneously coming together we needed a few tidy up elements fabricated to hide and route the new wiring. This unused microwave moutning plate came in handy together with some retro looking computer keys I had kicking around. I never throw anything away that looks like it might work as something else.
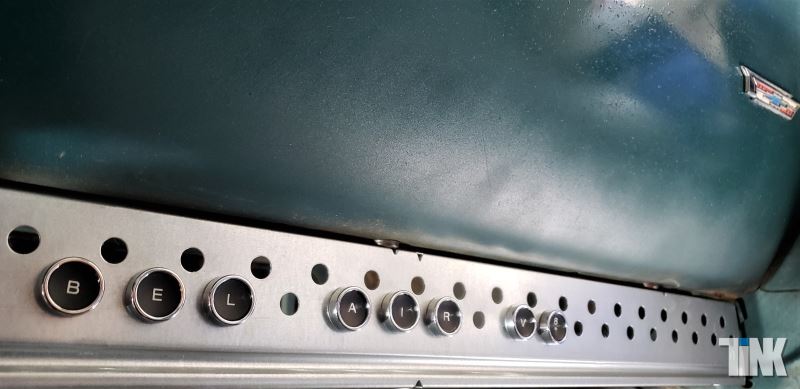
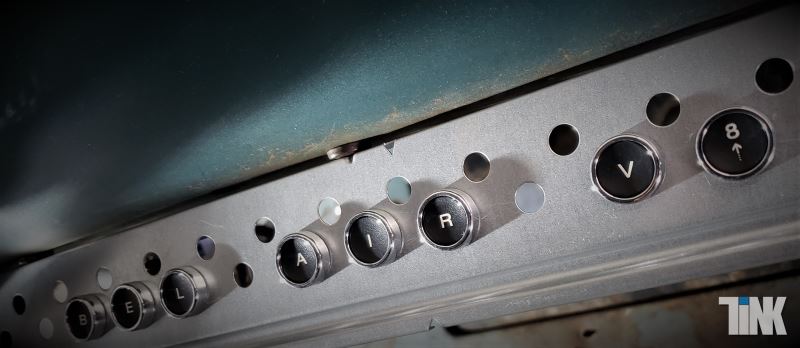
Other panels like the glove box and ashtray I sanded and matt coated in keeping with the rat look. For the interior lighting we had a lot of fun, see the electrical section for details.

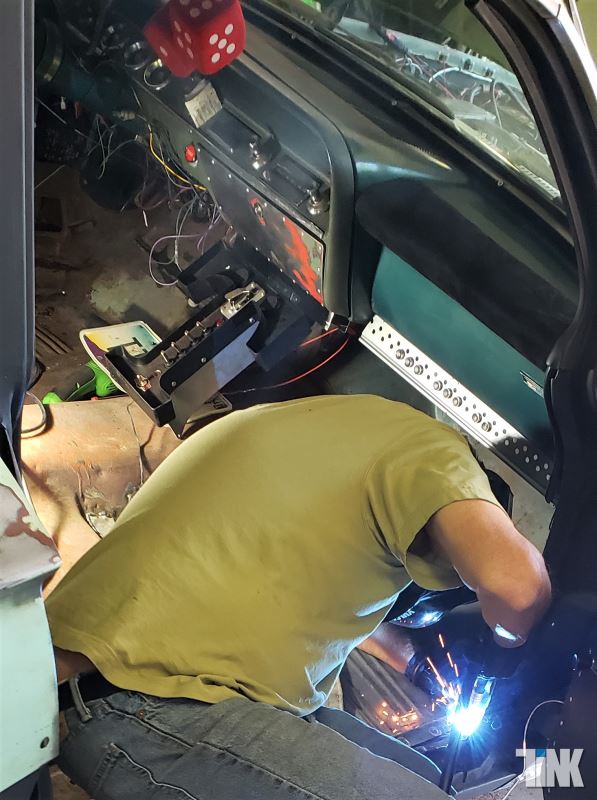
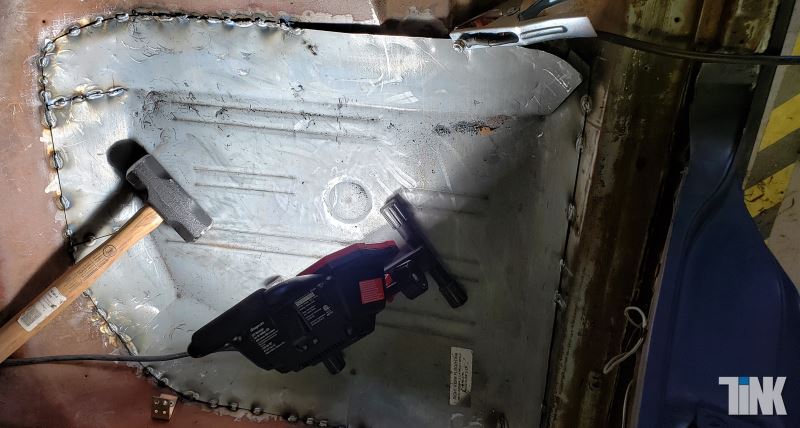
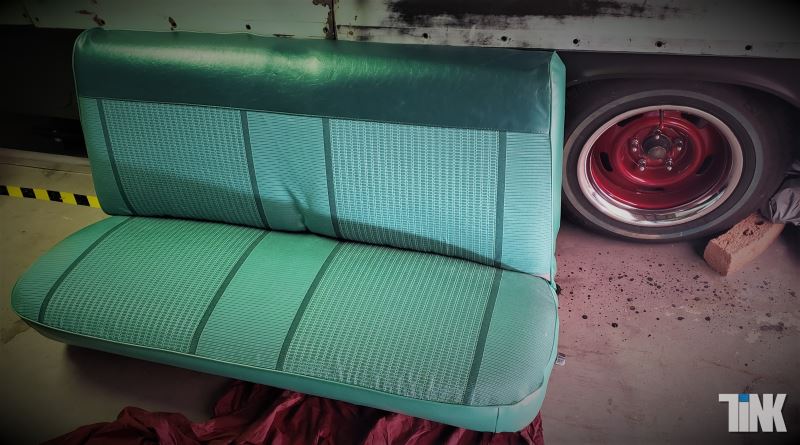
Carpets were ordered and reproduction original seat covers so it was time to get those gaping holes in the floor sorted out and weld in the replacement panels. Cue .. Curt!
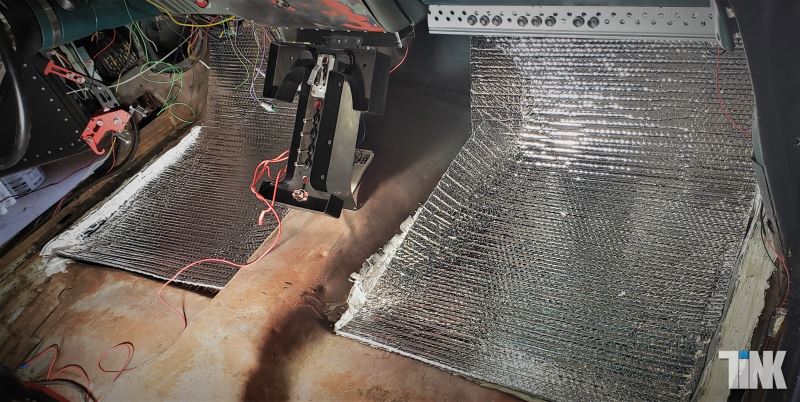
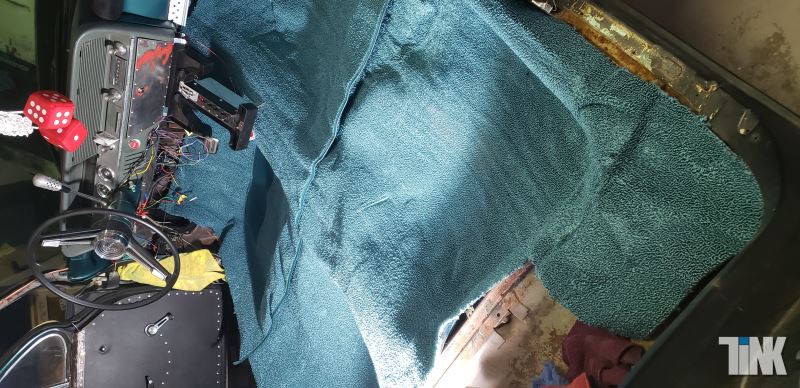
Threw the carpet in place and trimmed as necessary.
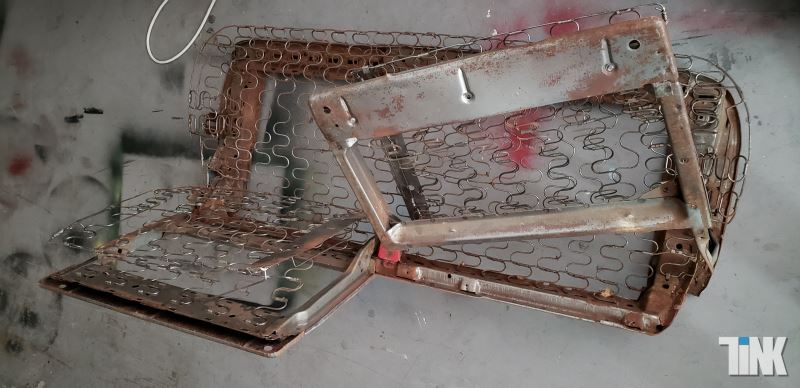
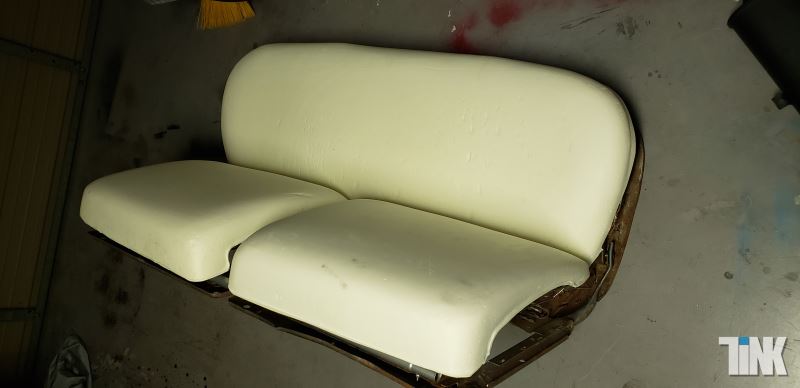
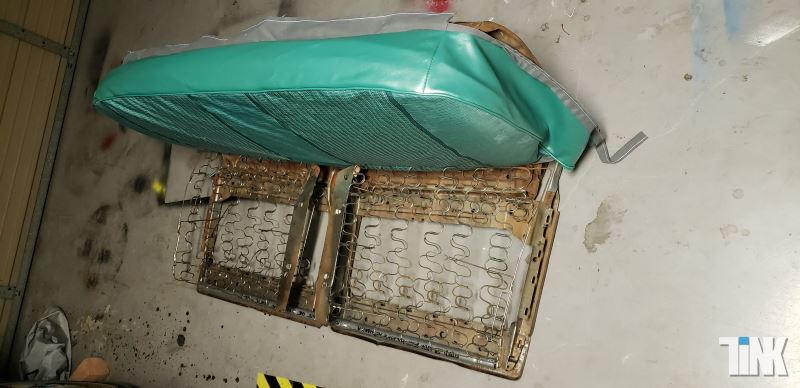
All that was left were the seats. Possibly the worst job, tearing off three layers of seating stretching back over 50 years of rot and decay and all the padding and sacking too, discovering spiders nests and all sorts on the way!
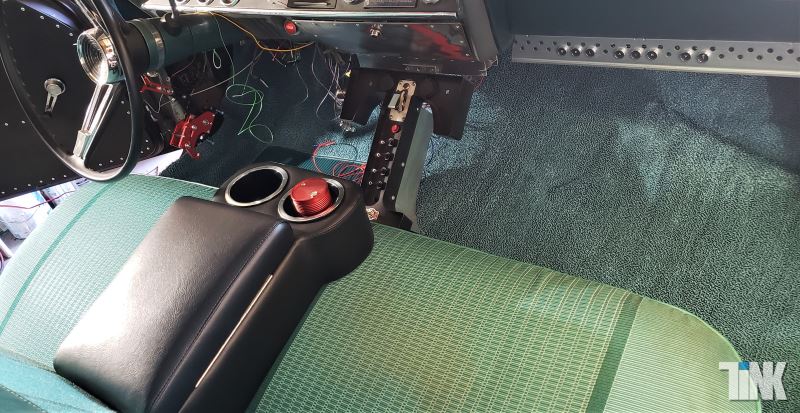
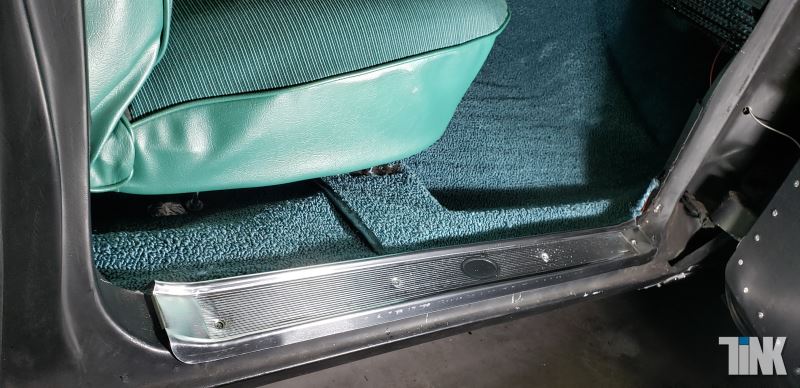
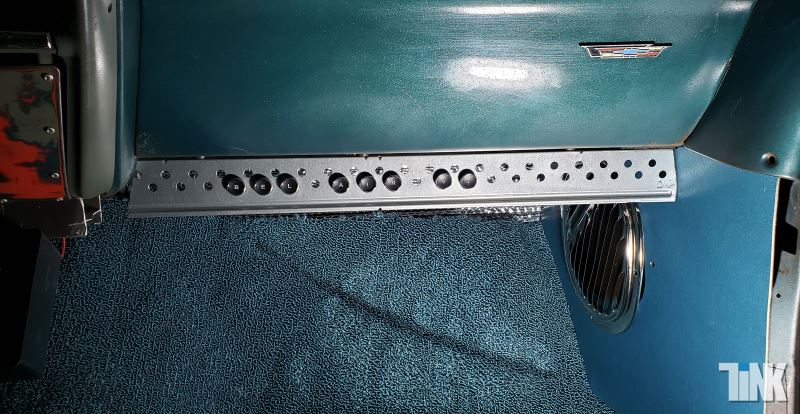
Step plates and kick panels with reporduction vents were the next element to complete the interior. I still haven't found a suitable solution for the trim for the kick plate to the door jam. I did find some kneeling cushions which were perfect for the gap between my V shaped padded rests and the rear seat but I'm still looking for ideas on the wheel arch area.
... and so it continues!


